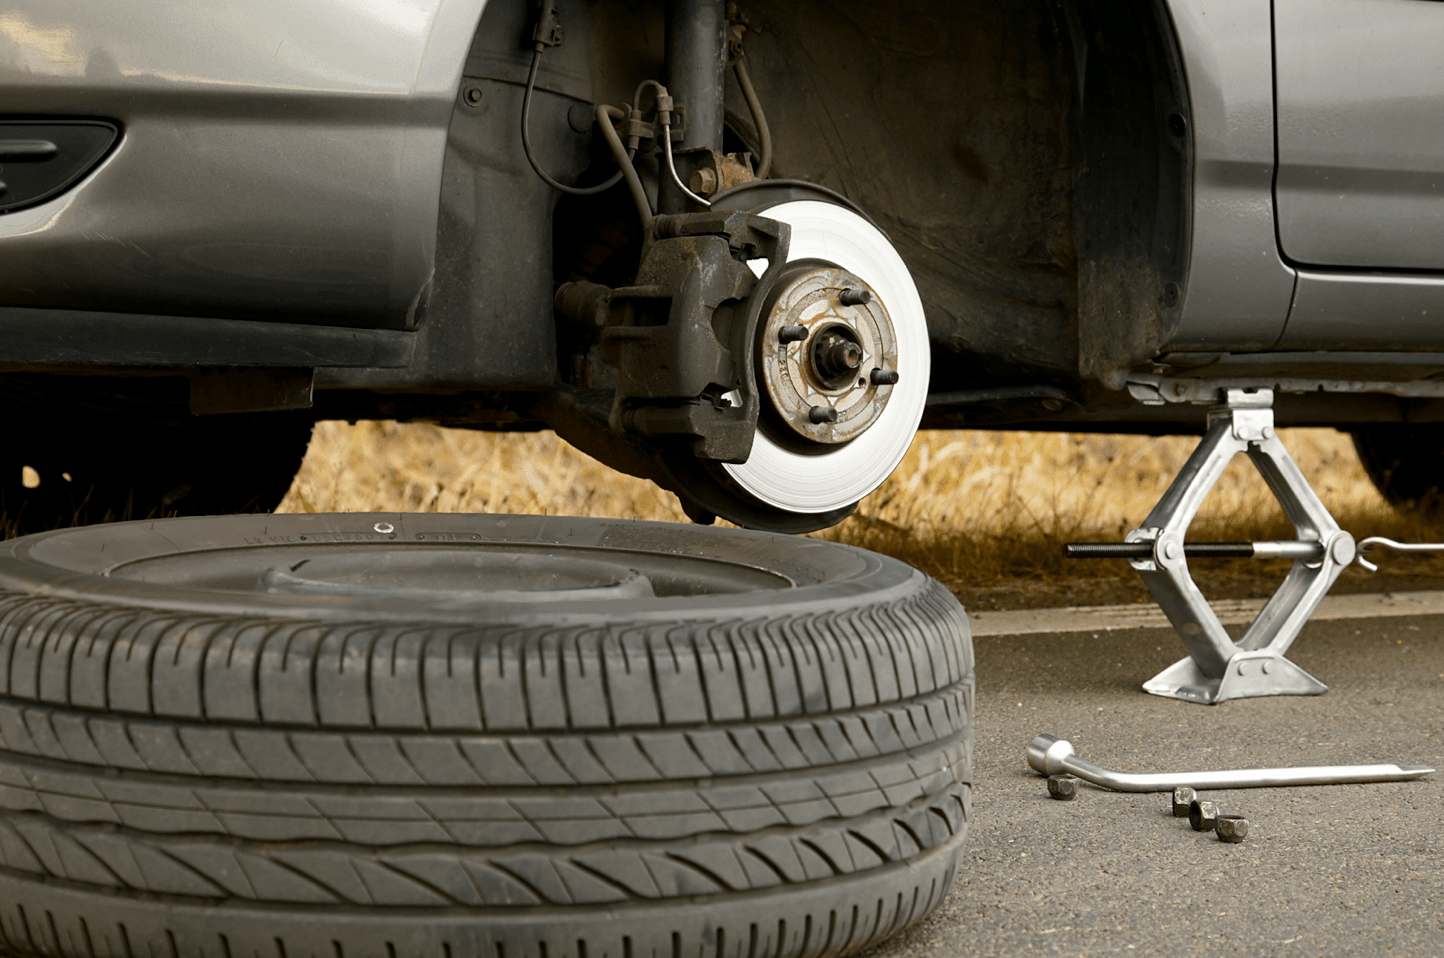
Changing a tire is an essential skill every driver should possess. Whether you face a flat tire on a quiet road or in a busy parking lot, knowing how to handle it can save you time and stress. In this article, we will guide you through the steps of changing a tire efficiently.
Why Is It Important to Learn How to Change a Tire?
Understanding how to change a tire is vital for several reasons:
- Safety: A flat tire can impede your vehicle’s performance and cause accidents.
- Independence: You won’t need to rely on roadside assistance as much.
- Cost-Effective: Saving money on service fees can help your budget.
Tools You Will Need
Before you start, gather the following tools:
- Spare Tire: Ensure it is in good condition.
- Jack: A manual or hydraulic jack will do.
- Lug Wrench: Useful for loosening and tightening bolts.
- Safety Triangle: To alert other drivers.
- Gloves: For protection and grip.
Step-by-Step Instructions for Changing a Tire
Here’s how to change a tire, broken down into easy steps:
Step 1: Prepare Your Vehicle
- Park Safely: Avoid busy roads. Choose a flat, stable surface.
- Turn on Hazard Lights: Notify other drivers that you have a problem.
Step 2: Position the Safety Triangle
- Place the Safety Triangle: Position it at least 100 feet behind your vehicle to alert oncoming traffic.
Step 3: Loosen the Lug Nuts
- Use the Lug Wrench: Turn the wrench counterclockwise.
- Loosen, Don’t Remove: Just break the seal on the nuts.
Step 4: Lift the Vehicle with the Jack
- Find the Jack Point: Refer to your vehicle’s manual for the correct spot.
- Raise the Vehicle: Ensure it is high enough for the tire to clear the ground.
Step 5: Remove the Flat Tire
- Finish Removing the Lug Nuts: Take them off entirely.
- Slide the Tire Off: Pull it straight out.
Step 6: Install the Spare Tire
- Align the Spare Tire: Line up the holes with the wheel studs.
- Screw on the Lug Nuts: Hand-tighten them first, then use the wrench.
Step 7: Lower the Vehicle
- Carefully Lower the Jack: Bring your vehicle back to the ground.
- Tighten the Lug Nuts: Use the wrench to securely fasten them.
Step 8: Store Tools and Flat Tire
- Pack Everything: Make sure all tools and the flat tire are back in your vehicle.
- Dispose of the Flat Tire: Take it to a professional for repair.
Final Tips for Changing a Tire
- Practice Makes Perfect: Try changing a tire at home to build confidence.
- Check Your Spare Tire Regularly: Ensure it is inflated and ready for use.
- Stay Calm: If you feel unsure, call for help rather than risking injury.
By following these steps, you can effectively change a tire and get back on the road. Remember, practicing makes you more prepared for unforeseen situations.