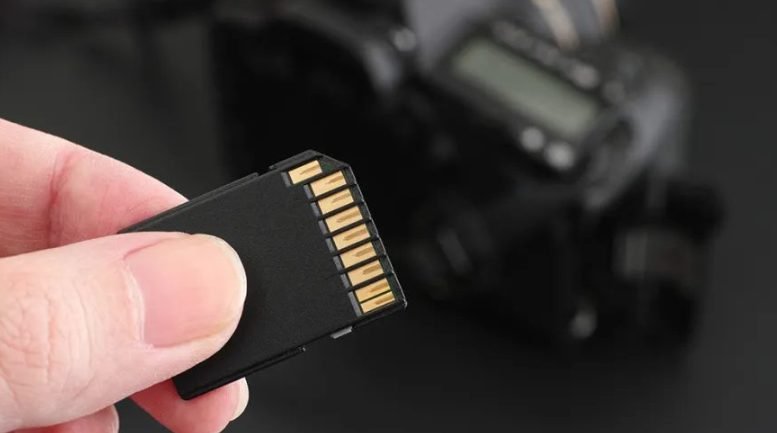
Formatting an SD card to the FAT32 file system is essential for numerous devices. If you need to use your SD card with devices like cameras, game consoles, or some computers, FAT32 provides better compatibility. This article will guide you through the steps to format an SD card to FAT32 in simple terms.
WHY FORMAT SD CARD TO FAT32?
Before we dive into the steps, let’s understand why you might want to format your SD card to FAT32:
- Compatibility: FAT32 works with many devices.
- File Size Limit: It offers a maximum file size of 4 GB.
- Ease of Use: The formatting process is straightforward.
PREPARING FOR FORMAT
Before formatting your SD card, it’s wise to ready yourself and your device:
- Backup Files: Always save important files elsewhere.
- Use a Working Card Reader: Make sure your card reader functions properly.
- Check Size: Ensure your SD card isn’t too large; some older devices may have a limit.
STEPS TO FORMAT SD CARD TO FAT32
Here’s a step-by-step guide on how to format your SD card to FAT32 easily.
1. INSERT THE SD CARD
- Insert the SD card into your computer using a card reader.
2. OPEN DISK MANAGEMENT (FOR WINDOWS USERS)
- Press
Windows Key + Xand select Disk Management. - Locate your SD card in the list. Be careful to choose the correct drive.
3. FORMAT THE SD CARD
- Right-click on the SD card.
- Select Format from the context menu.
- In the File system dropdown, choose FAT32.
- You can optionally assign a name in the Volume label field.
- Check the option Quick Format to speed things up.
- Click OK, then OK again to confirm.
4. USING COMMAND PROMPT (FOR ADVANCED USERS)
If you prefer using the Command Prompt, follow these steps:
- Press
Windows Key + X, then choose Command Prompt (Admin). - Type
diskpartand hit Enter. - Type
list diskand hit Enter. - Identify your SD card on the list. Note the disk number.
- Type
select disk X(replace X with your disk number) and hit Enter. - Type
cleanand hit Enter. - Type
create partition primaryand hit Enter. - Type
format fs=fat32 quickand hit Enter. - Once done, type
exitto leave Diskpart.
5. FORMAT ON MAC
For Mac users, the formatting steps differ slightly:
- Open Disk Utility from Applications > Utilities.
- Select your SD card from the list on the left.
- Click on Erase at the top.
- Choose MS-DOS (FAT) from the Format dropdown.
- Click Erase to begin the formatting process.
6. FINAL CHECK
After formatting, safely eject your SD card. Plug it back in to ensure everything is working as expected.
ADDITIONAL TIPS
- Avoid Interruptions: Ensure the formatting process is not interrupted.
- Check for Errors: If your SD card has issues, using the built-in error-checking tool on your computer may help.
TROUBLESHOOTING COMMON ISSUES
If you run into problems, here are some tips:
- SD Card Not Recognized: Ensure it’s properly inserted into the reader.
- Formatting Errors: Sometimes, a card reader might not be compatible. Try a different reader if issues persist.
- Check for Write Protection: Some SD cards have a physical switch that locks them. Make sure it’s in the “unlocked” position.
CONCLUSION
Formatting your SD card to FAT32 enhances its usability across different devices. Follow these simple steps, and you’ll have your SD card ready in no time. Always remember to back up your data before proceeding. Happy formatting!